Intro
 You might want to migrate your WordPress website to a new hosting for various reasons. However, the migration process does not mean only to copy the wordpress files. The old domain name is saved in the mySQL database on several places. The new website will simply not work properly. Images will not be visible, you might ne be even able to log in to wp-admin.
Let me explain the whole migration process step by step. I will include several screenshots so that you are sure how the step should be done and how the results should look like.
Copying WordPress files
This is the easiest part. Copy all the files to a new location. In my example, I will migrate a website from domain haltik.com to luminoworld.com. Later in the text, I will use “old_domain.com” and “destination.com“. You have to put your old domain and the new domain instead of these two terms.
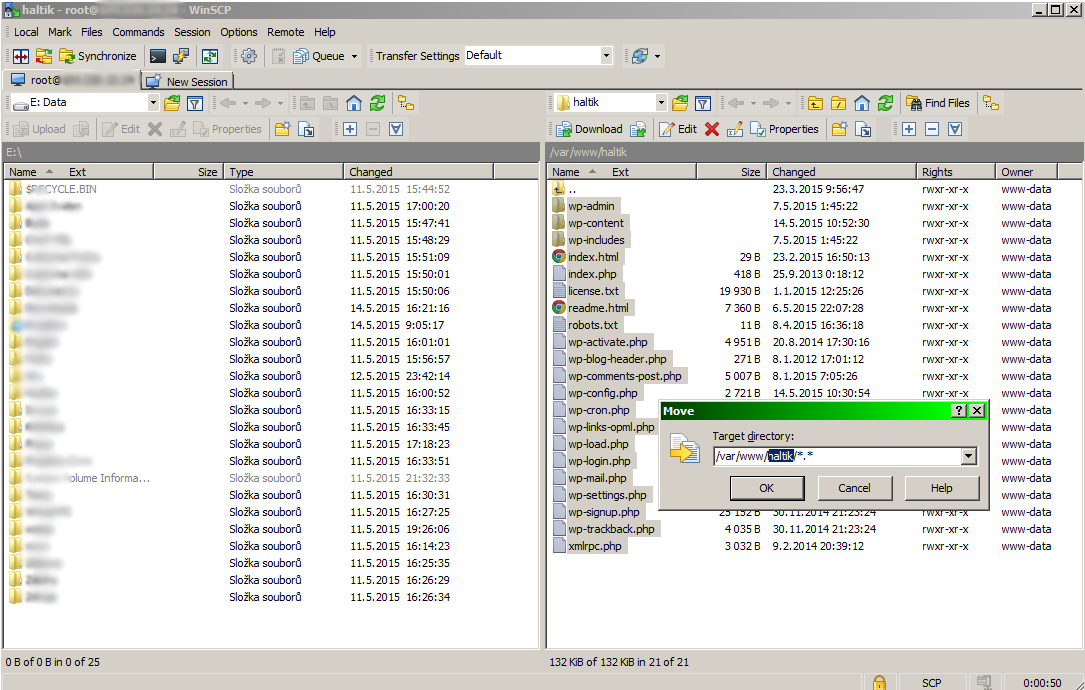
I used WinSCP for moving the files into the new destination folder. You can just rename the folder. If you want to move the files to a new server, download the whole folder. TIP: WordPress contain plenty of small files and the download process is slow no matter how fast internet connection you have. If you have access to CPanel or the server command line, I would recommend to zip the whole folder and download it as a single file. If you don’t understand these terms, just copy the files to your local disk.
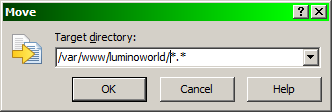
I changed the folder haltik to luminoworld because I just move the files within the same server.
 WordPress in a new location

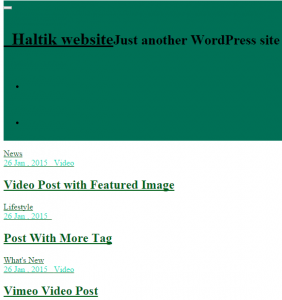
When you move the files within the same server, the website should be available on the new domain immediately. This is how my website looked like. You can see, that the styles are not correct and images are missing.
If you get 404 or other errors, you have to check .htaccess file. If there is the old domain name mentioned anywhere, change it to the new domain.
If you moved the files to a new server, you will have to export the database on your old hosting and then import it in the new hosting using phpMyAdmin. I will show you how to do that in the following section.
Migrating WordPress database
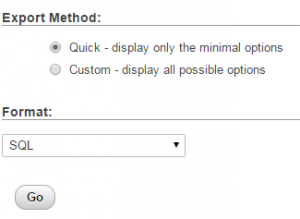
Database exporting is easy. Click on Export menu item. ![]()
This option will appear. Click go and an sql file will be exported. Now, we have to upload the data to a new database. PhpMyAdmin wil not allow you to import the file unless you select a database where this data should go. You have to create an empty database first.
 Then click on Import and select the file you downloaded from your previous location.
Another important thing to do is to update wp-config.php that is located in the wordpress root folder. The three lines you have to update are these:
// ** MySQL settings – You can get this info from your web host ** //
/** The name of the database for WordPress */
define(‘DB_NAME’, ‘New_Database_Name’);
/** MySQL database username */
define(‘DB_USER’, ‘Database_User_name);
/** MySQL database password */
define(‘DB_PASSWORD’, ‘New_Password’);
If you created a new database user and assign rights for this new user, do not forget to click on SQL menu item and run this command:
Flush Privileges;
If you forget this command, the new user rights will not be applied and you will receive “Database connection error“.
Wordpress database update using phpMyAdmin
 At this stage your website should be available on the new domain without any http or database errors. Now, we are going to update the database and replace the old domain name and files location with the new one.
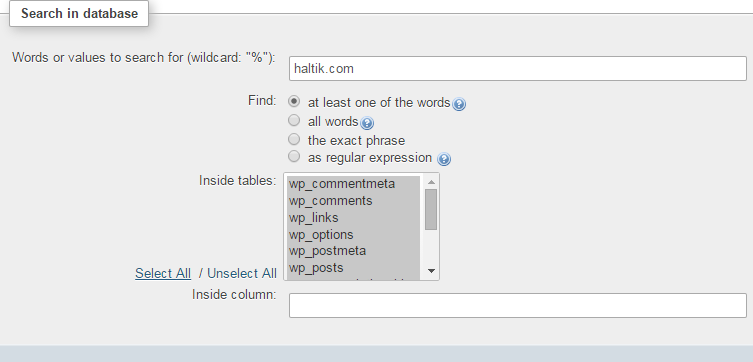
Click on your new database in phpMyAdmin. Then click Search in the menu. Search for your old_domain.com. In my example it is haltik.com.
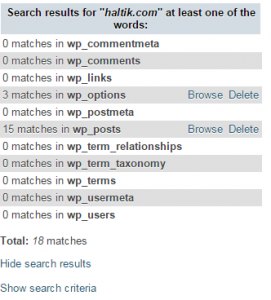 The search results will be like this. This shows you that the phrase “haltik.com” (in your case it will be your old domain dame) appears in these two tables. The website I used for this example was quite small.
However, if you have a large website you can see something like this:
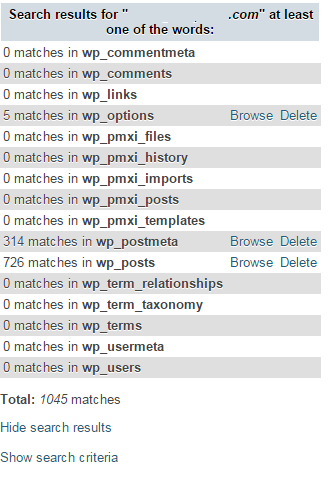
It is clear, that it would be a nightmare to change 1045 items by hand. We will use SQL queries to modify all the entries in each table.
Click “Browse” on the first line. This will lead you to the table “wp_options”. You will see something like this:
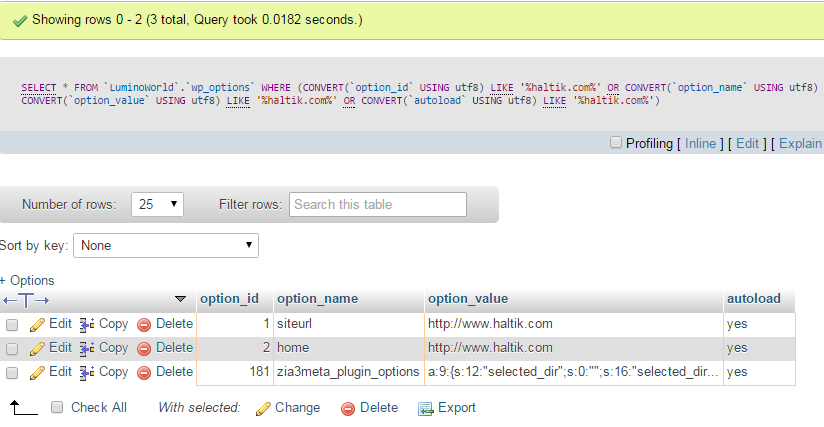 Now, click SQL in the top menu. An SQL query input field will appear. Put this line to the field:
UPDATE wp_options SET option_value = REPLACE(option_value , ‘old_domain.com’, ‘new_domain.com’) ;
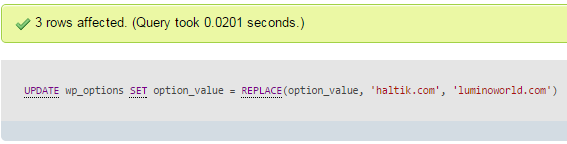 Now click Go. The result should be like this. If there is 0 rows affected, you have a mistake in the query – most likely the old_domain.com is not correct.
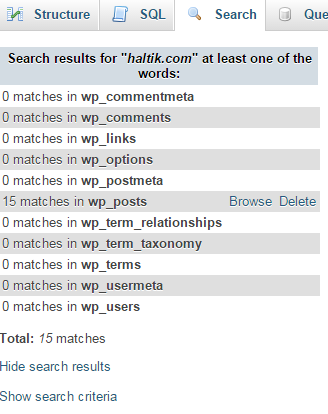 If you now search for old_domain.com within all the tables, the wp_option should not be listed in the results. You will see this. There should be no “Browse”next to the wp_options.
Next, we have to repeat the same step for the remaining tables. Select SQL in the menu and use these queries. I would advise to do this one by one, in case there is any error.
UPDATE wp_posts SET post_content = REPLACE(post_content , ‘old_domain.com’, ‘new_domain.com’) ;
UPDATE wp_posts SET guid = REPLACE(guid , ‘old_domain.com’, ‘new_domain.com’) ;
If everything went ok, and you search for your old domain name again, you will see no “Browse”option and there will be Total: 0 matches.
I am sorry to tell you, that this is not enough yet 🙂 But, no worries, it is only a few steps more. We replaced the old domain name with the new one. However, WordPress stores the location of all images in absolute way. The folder your html files are in might be like these:
/var/www/domain
/public_html/domain
/public-html/domain
If you move your files between two similar servers – both use Apache or both use Nginx, the path system should not change. Click SQL again and run the following queries:
UPDATE wp_options SET option_value = REPLACE(option_value, ‘/old_web_folder’, ‘/new_web_folder’) ;
UPDATE wp_postmeta SET meta_value = REPLACE(meta_value, ‘/old_web_folder’, ‘/new_web_folder’) ;
UPDATE wp_posts SET post_content = REPLACE(post_content, ‘/old_web_folder’, ‘/new_web_folder’) ;
If there is 0 rows affected, that might mean, there is no appearance of the searched phrase. To be sure you have replaced everything, click on the database, then search and type “/old_folder_name”. Then click “Select all“. If there is Total: 0 matches, your website should be fully migrated right now. If not, you have to replace the remaining tables. Sometimes plugins create their own tables that might use the folder paths. The procedure will be the same. Click on Browse and find out which column contains the old folder path. Then use this SQL query:
UPDATE Table_Name SET Column_name = REPLACE(Column_name, ‘/old_web_folder’, ‘/new_web_folder’) ;
Please, leave me a comment if this was helpful or if it contains any mistakes. If more explanation is needed, I will update the post.
Share if you like 🙂